How to Remove Objects from Photos on iPhone: A Complete Guide

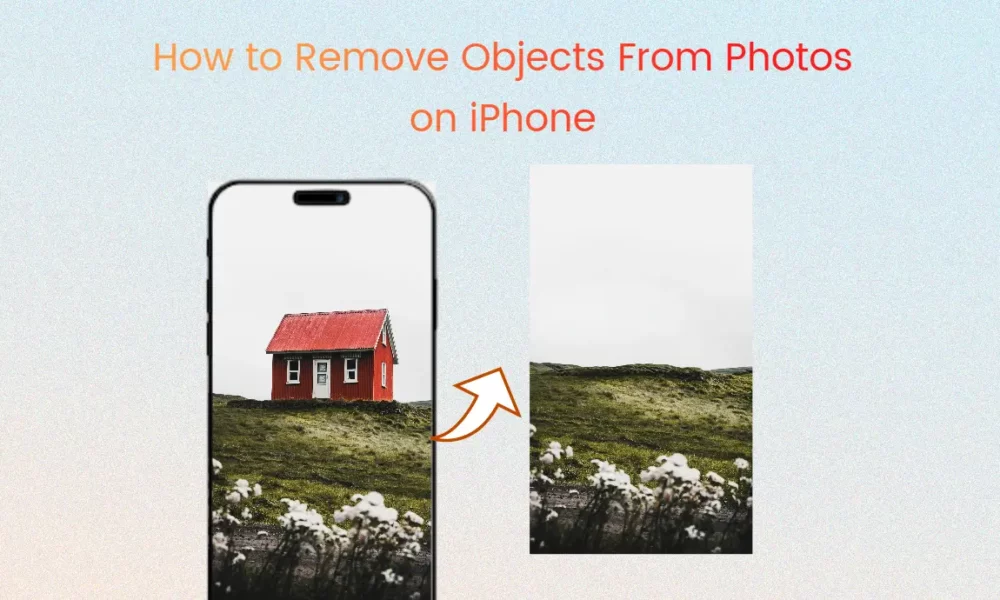
In today’s digital age, capturing the perfect photo isn’t just about timing – it’s also about having the right tools to enhance your images after they’re taken. One of the most impressive features available to iPhone users is the ability to Remove object from photo on iPhone. Whether it’s a photobomber, a distracting sign, or any other unwanted element, your iPhone provides several powerful tools to clean up your photos seamlessly.
Understanding Object Removal on iPhone
What is the Object Removal Feature?
The object removal feature on iPhone is a sophisticated AI-powered tool that allows users to eliminate unwanted elements from their photos with remarkable precision. This technology uses advanced machine learning algorithms to analyze the image content and intelligently fill in the space where the removed object was located. The system examines the surrounding pixels and patterns to create a natural-looking replacement that blends seamlessly with the rest of the image.
Compatible iPhone Models and iOS Requirements
To use the object removal feature effectively, you’ll need a compatible device running recent iOS versions. The feature works best on iPhone XS and newer models, with optimal performance on iPhone 13 and later versions running iOS 16 or higher. This is because the advanced computational photography features require the neural engine present in newer iPhone models to process the complex algorithms needed for seamless object removal.
Using the Visual Look Up Feature
How to Access Visual Look Up
The Visual Look Up feature is your gateway to object removal on iPhone. To access this powerful tool:
- Open the Photos app on your iPhone
- Select the image you want to edit
- Look for the blue “i” icon at the bottom of the screen
- If Visual Look Up is available, you’ll see a sparkling outline around the object
- Tap and hold the object you want to remove
- Choose “Remove” from the popup menu
This feature is particularly effective for removing common objects like text, signs, or even people from the background of your photos.
Tips for Optimal Results
To achieve the best results with Visual Look Up:
- Ensure your photo is well-lit and clear
- Make sure the object you want to remove is distinct from its background
- Keep your iPhone’s iOS updated to the latest version
- Use the feature on photos taken with good lighting conditions
- Consider the complexity of the background behind the object
Step-by-Step Guide to Remove Objects
Using the Magic Eraser Tool
The Magic Eraser tool is one of the most intuitive ways to remove objects from your photos. Here’s how to use it effectively:
- Open the Photos app and select your image
- Tap “Edit” in the top right corner
- Select the Markup tool (looks like a pen tip)
- Choose the Magic Eraser option
- Carefully trace around the object you want to remove
- Let the AI process and fill in the area
- Fine-tune the edges if necessary
- Tap “Done” to save your changes
The Magic Eraser works best when the background is relatively uniform and the object is clearly defined.
Using the Selection Tool
For more precise control over object removal:
- Tap and hold on the object
- Wait for the selection outline to appear
- Adjust the selection boundaries if needed
- Choose “Remove” from the options
- Fine-tune the results using the provided tools
Advanced Techniques and Tips
Handling Complex Backgrounds
When dealing with complicated backgrounds:
- Break down larger objects into smaller sections
- Use multiple passes with the removal tool
- Pay attention to patterns and textures
- Consider using the healing tool for detailed areas
- Take advantage of the undo feature if needed
Dealing with Multiple Objects
Removing multiple objects requires strategy:
- Start with the largest objects first
- Work from back to front in the image
- Maintain consistency in background patterns
- Save between major changes
- Use layers when available in third-party apps
Third-Party Apps for Object Removal
Popular Alternative Apps
While the built-in tools are powerful, several third-party apps offer additional features:
- Snapseed: Offers advanced healing tools
- TouchRetouch: Specialized in object removal
- Photoshop Express: Professional-grade editing
- Retouch: Simple and effective object removal
- Pixelmator: Advanced editing capabilities
Each app has its strengths, and you might want to keep several on hand for different situations.
Troubleshooting Common Issues
Tips for Better Results
To avoid common problems:
- Ensure your iPhone has sufficient storage space
- Close other apps before editing
- Work with high-resolution photos
- Take multiple shots of the same scene
- Back up your original photos
- Use zoom for precise editing
- Work in good lighting conditions
Conclusion
Removing unwanted objects from your iPhone photos has never been easier, thanks to the combination of built-in tools and third-party apps available. With practice and patience, you can achieve professional-looking results that transform your good photos into great ones. Remember to always save your original photos and experiment with different techniques to find what works best for your specific needs.


